Design a complex multi-ring seal with a logo and dual language
This is a customizable design starter for a detailed multi-ring seal — not an official notary or government seal. You’ll layer two rings, curved text in two directions, decorative separators, a centre line with text, an uploaded logo, and a subtle aging effect that mimics a rubber-stamp look. We’ll finish by exporting SVG for manufacturing.
What you’ll build
- Shape
- Circle
- Size
- 45 mm
- Rings
- Two concentric rings
- Text
- Top arc (name) · bottom arc (second language / reg line) · centre text
- Decoration
- Star separators · centre divider line · logo
- Finish
- Aged ink, exported as SVG + PNG

Build the frame
- 1
Blank 45 mm circle
Start a new circular plate and set the size to 45 mm — a little larger to fit two rings and more text.
- 2
Add two rings
Add a Ring layer for the outer edge, then a second Ring layer set to a smaller radius. Give the outer ring a heavier thickness and the inner ring a thinner one — this classic “thick + thin” pair reads as an official border.
Add the curved text
- 1
Top arc — organisation name
Add an Arc text layer between the two rings and type the full organisation name. Tune the radius so it hugs the space between rings, and raise letter spacing so it fills the top half evenly.
- 2
Bottom arc — second line or language
Add a bottom Arc text layer for a registration number, a city, or the same name in a second script. Stamp Maker includes Hindi (Devanagari) fonts, so a bilingual seal — English on top, Hindi on the bottom — is a couple of clicks. Set the font to a Hindi face for that layer.
Bilingual tip
Type or paste Devanagari directly into the arc text and switch that layer’s font to the Hindi option. The renderer handles complex script shaping, so conjuncts and matras render correctly in the download too.
Decorate and structure
- 1
Star separators
Add an Ornament (stars/dots) layer and place a small star on the left and right, where the top and bottom curves meet. This is the visual hinge that makes a two-curve seal look complete.
- 2
Centre divider line
Add a Line layer across the middle. Lines are great for separating a centre monogram from a role or date band.
- 3
Centre text block
Add one or two straight Text layers above and below the line — for example a monogram above and “AUTHORISED SIGNATORY” below.
- 4
Upload a logo
Add an image/logo layer and upload a transparent PNG. Scale and centre it. Keep logos simple — fine detail disappears at stamp size.
Finish and export
- 1
Age the ink
Raise the Aging slider a little. It punches tiny irregular gaps into the ink so the seal looks pressed by a real rubber stamp rather than printed. A small amount is more convincing than a lot.
- 2
Export SVG and PNG
Download an SVG if a manufacturer will cut a physical plate — it’s vector and scales cleanly. Also grab a 3× transparent PNG for digital documents.
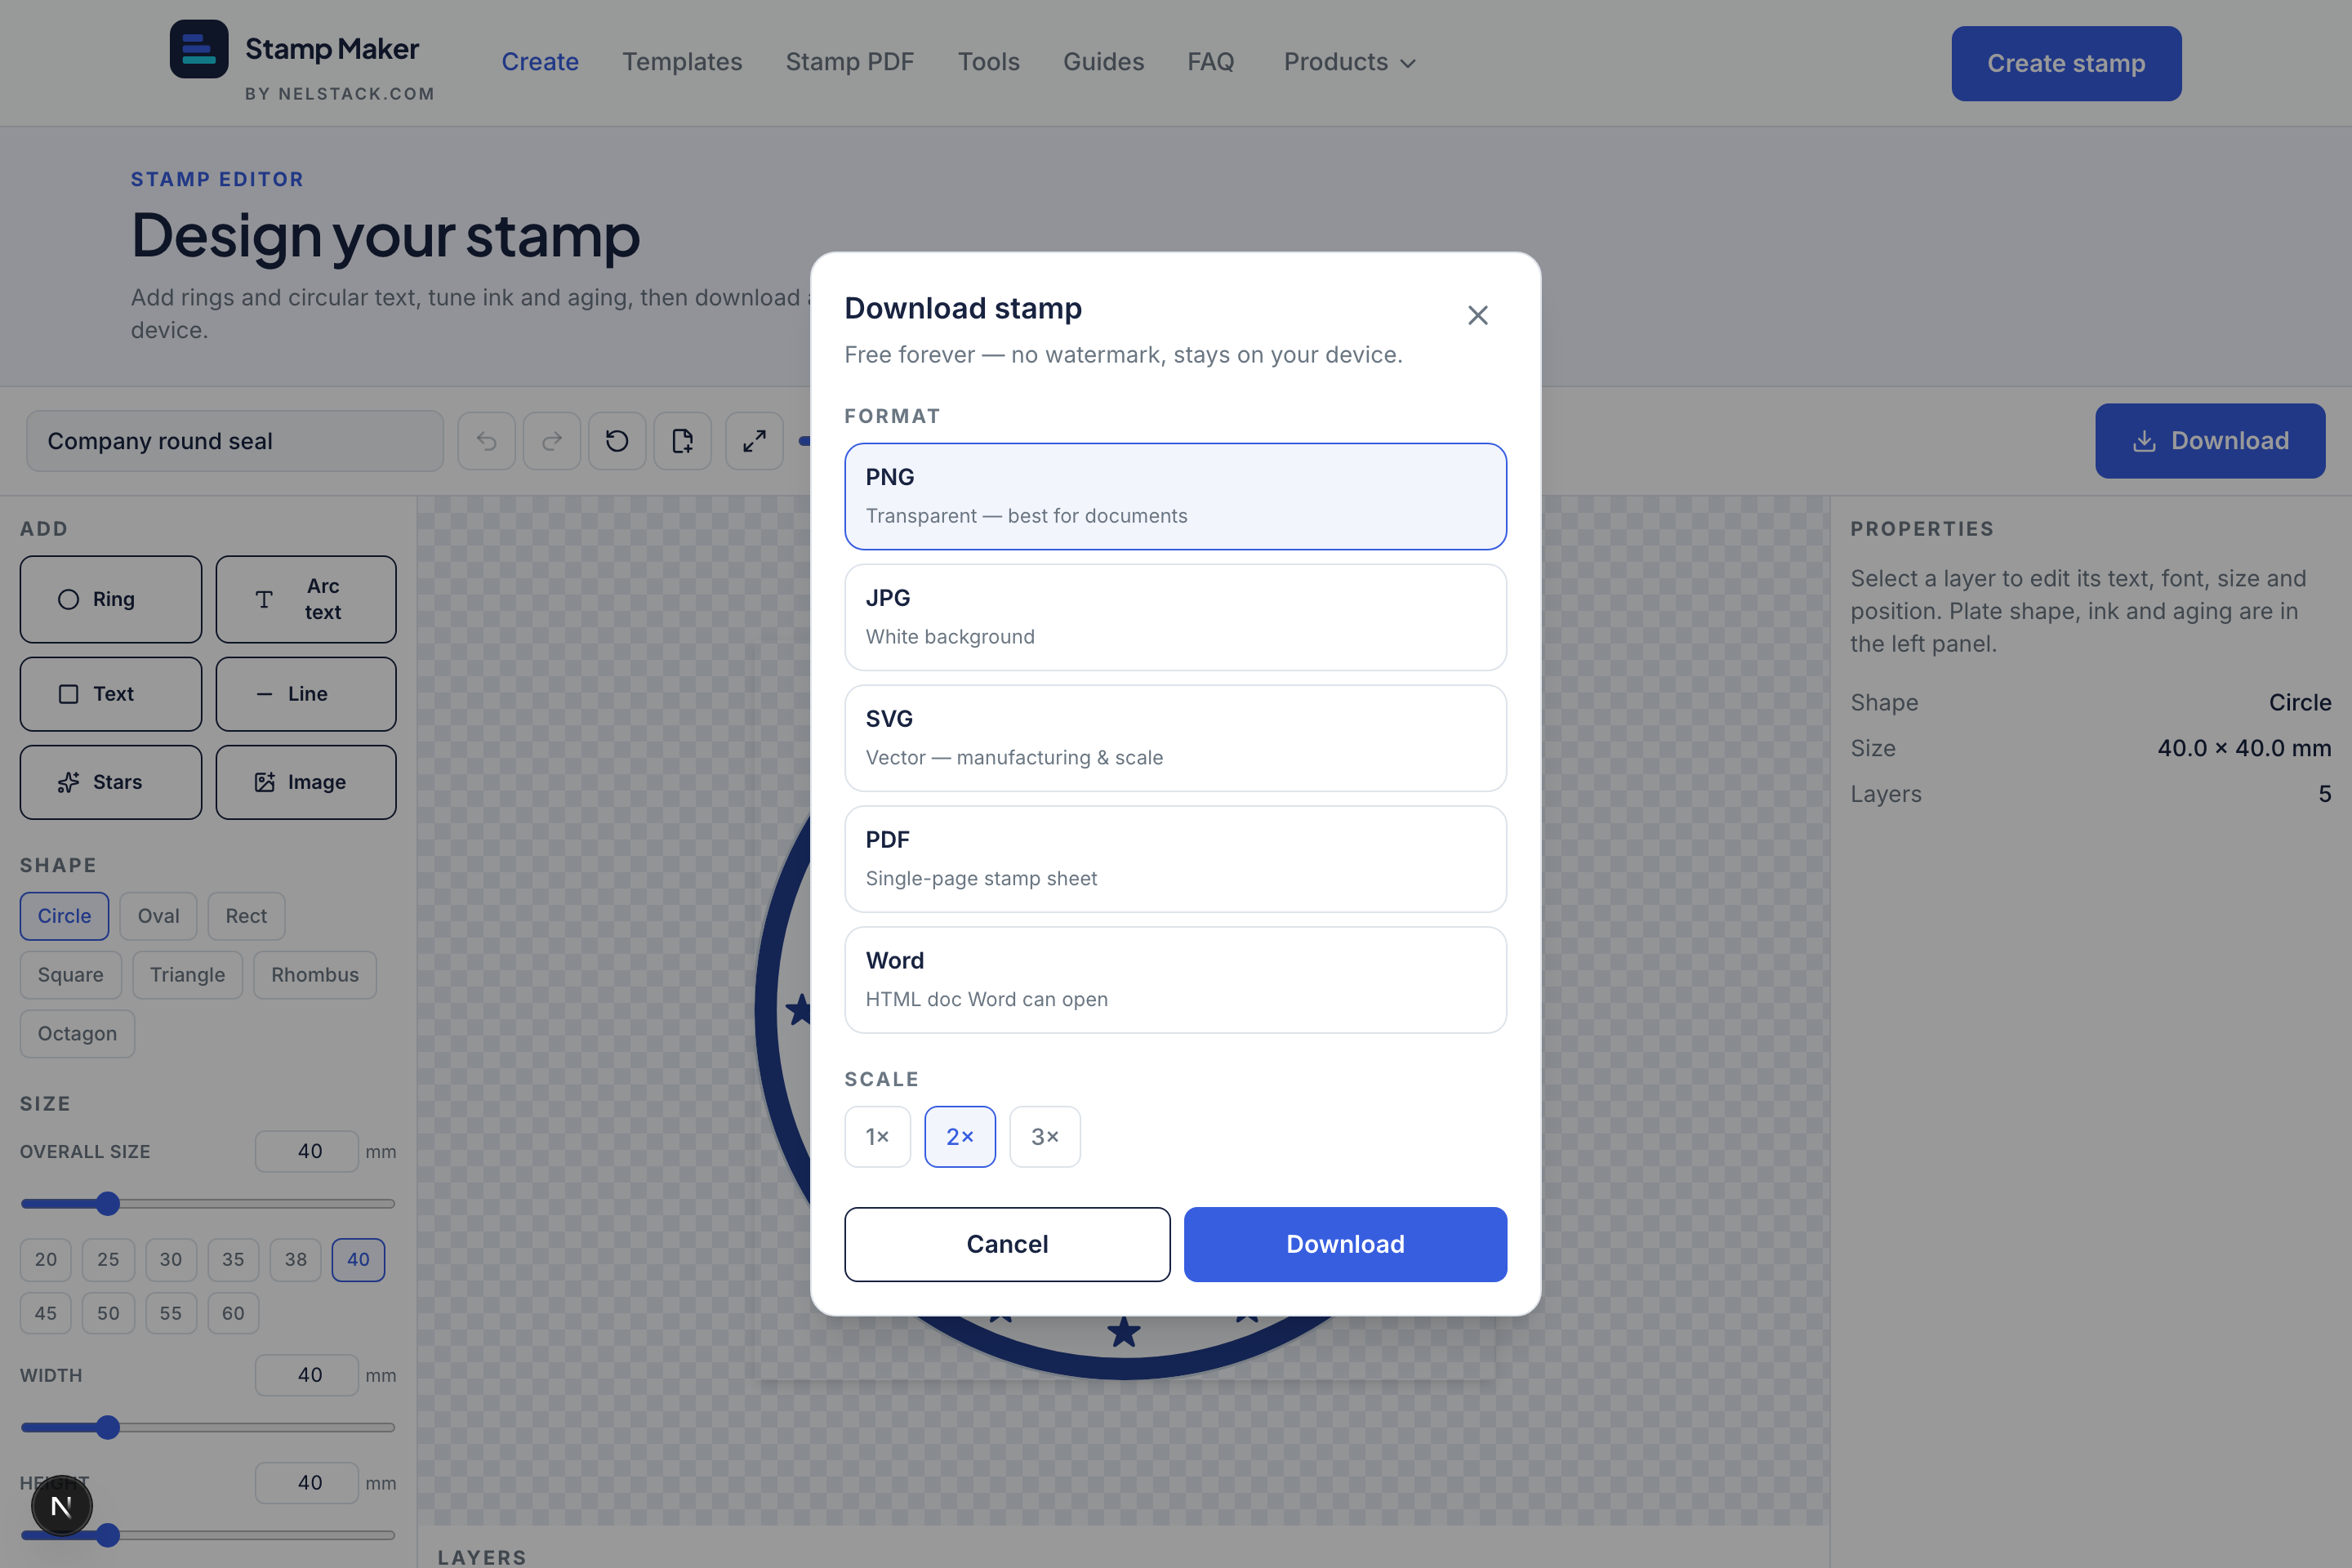
SVG for manufacturing, high-scale PNG for documents.
Order matters
In the Layers panel, keep rings at the back, text above them, and the logo where it won’t collide with curved text. Drag to reorder if a layer hides another.
Frequently asked questions
Can I make a Hindi and English bilingual seal?
Yes. Use a Hindi font on one Arc text layer and paste Devanagari text — shaping is preserved in downloads.
Should I download SVG or PNG?
SVG for physical plate cutting or scaling; 2×/3× transparent PNG for documents and Stamp PDF.
How do I add a logo to a company seal?
Add an image/logo layer, upload a transparent PNG, then scale and centre it so it does not collide with arc text.
What does the Aging slider do?
It punches irregular gaps into the ink so the seal looks more like a pressed rubber stamp. Use a light amount for the most believable look.
Can I export both SVG and PNG from one design?
Yes. Download SVG for manufacturing or scaling, and a 2× or 3× PNG for documents and Stamp PDF.
Keep learning
- Create a simple round company seal from scratchStep-by-step: build a single-ring round company seal from scratch with curved text, centre line, ink colour and transparent PNG export.
- Stamp a PDF: place, resize, rotate and apply to every pageUpload a PDF and seal image, place and rotate the stamp, apply it to every page, and download — privately in your browser.
- Clean, crop and prepare a scanned stamp imageUse Stamp Maker tools to clean, extract, crop, resize, rotate or add a background to a scanned seal — live preview, PNG download.